If you’ve been wanting to learn how to cornrow your hair for a clean, protective base under your crochet locs, you’re in the right place. This step-by-step tutorial walks you through the basics of cornrowing, showing you exactly how to go from loose hair to a flat, secure braid pattern—perfect for your next Boho Locs install.
Whether you’re brand new to cornrowing or just brushing up on technique, this guide will help you create a solid foundation for a flawless slay.

What You’ll Need to Get Started
Having the right tools on hand makes the process smoother:
A rat-tail comb to part your hair with precision
Butterfly clips to keep sections out of the way while you work
Duckbill clips to secure any shorter strands that might get in the way
These tools help keep the process neat, easy, and manageable from start to finish.

The Braid Pattern: Simple, Balanced, and Beginner-Friendly
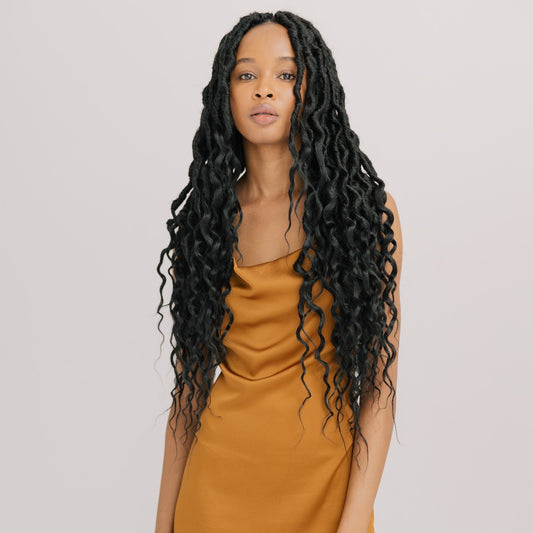
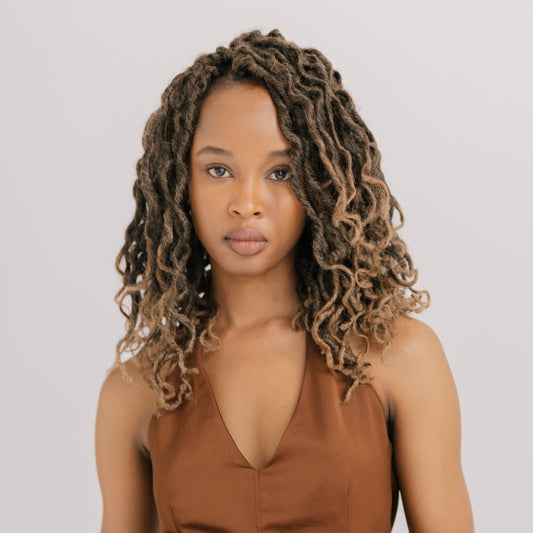
This tutorial features an eight-cornrow base with our Boho Goddess Locs in Choc/Bronde. Each braid is roughly an inch thick—just enough to be secure without creating unnecessary bulk.
Start by parting the hair straight down the middle, then divide each half into four equal sections. That gives you four cornrows per side, keeping the look symmetrical and balanced.
Even spacing is key—uneven braids can cause your final style to look lopsided or feel heavier on one side. Be sure to also keep the front and the nape equally divided as you work your way across the head.
A smart extra detail? One braid wraps around the full perimeter of the head, from one side, around the nape, and up the other. This helps your crochet locs look seamless and natural, especially when styling in updos or half-up looks.

Cornrowing Basics: The Technique
Cornrowing uses a three-strand braid pattern. One hand holds two strands of hair, the other holds one.
Start by parting a section of hair where the braid will begin, then divide it into three equal parts. From there, braid as you would with a normal plait, taking the outer strand and crossing it into the middle.
The difference with cornrowing is that, as you move down the braid, you pick up small sections of hair and feed them into the braid. This anchors it to the scalp and keeps everything secure.

Be sure to gently pull through the braid as you go, especially with longer hair. This helps prevent tangles from building up along the way.
Once the braid is complete, simply plait the rest of the hair down to the ends.

Moving Through the Head: Repeat and Refine
The second cornrow starts just next to the first and follows the same steps, except this one is braided straight back without curving around the nape.
Throughout the process, consistency is everything. Use your index fingers to part and rotate the strands, keeping the braid pattern smooth and even.
Each time you braid, pick up a small section of hair and feed it into the middle strand. Watch for tangles and take time to detangle from the ends upward—braiding over knots can cause breakage and make takedown a hassle.
Continue plaiting each braid to the ends for a secure finish.

Tips for a Flatter, Neater Install
Once the braids reach the center of the head, one helpful trick is to connect the braid ends in a zigzag pattern. This keeps the base flatter and prevents bulk from forming at the back, which is essential for a clean crochet look.
You can also crochet or tuck the braid ends neatly into other rows to keep them hidden and secure.
And when prepping each section, always start detangling from the ends and work your way up. This helps protect the hair underneath your style and ensures a smoother braiding process.

Your Foundation Is Set
Now you’ve got a neat, balanced, and secure cornrow base—ready for your crochet install.
Want to see it all in action?
Watch the full tutorial video below for a real-time demonstration of each step. One of our experts walks you through the entire process so you can follow along at your own pace.
Have questions? Drop a comment—we’ve got your back!