Braided hairstyles have never been more popular than they are today, and, if you've noticed this trend, you might be wanting to learn how to cornrow your own hair.
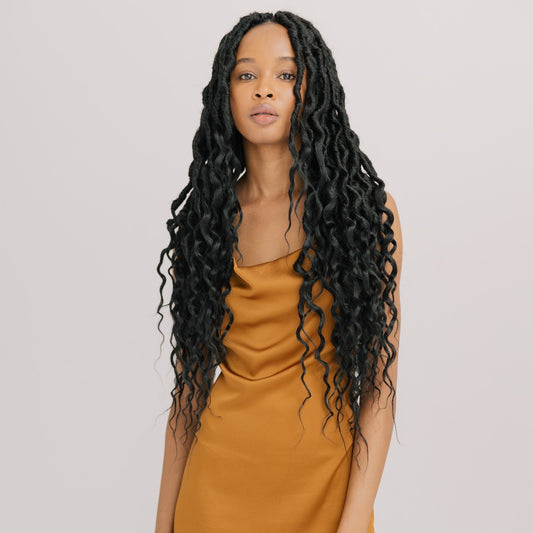
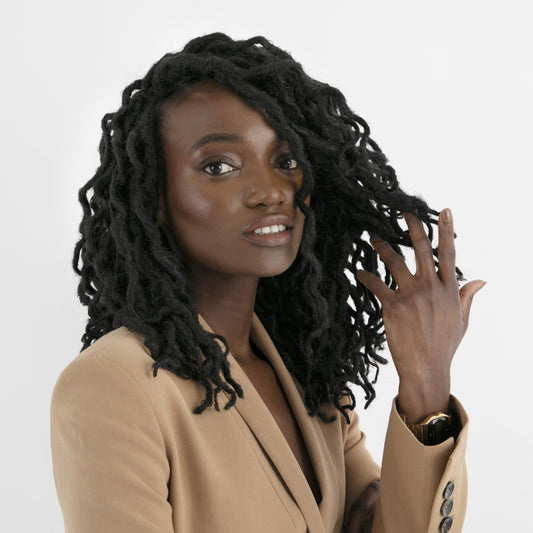
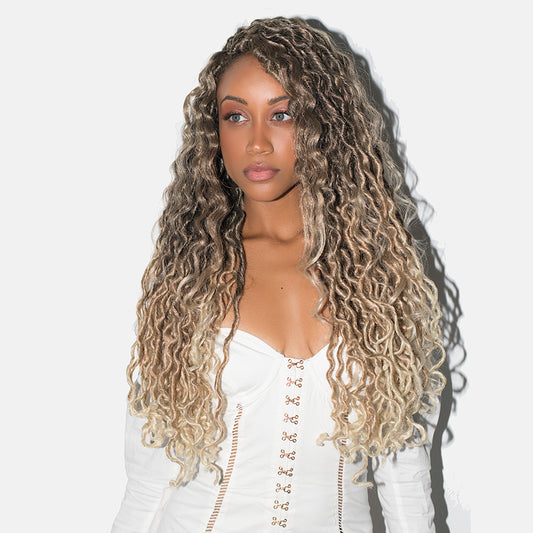
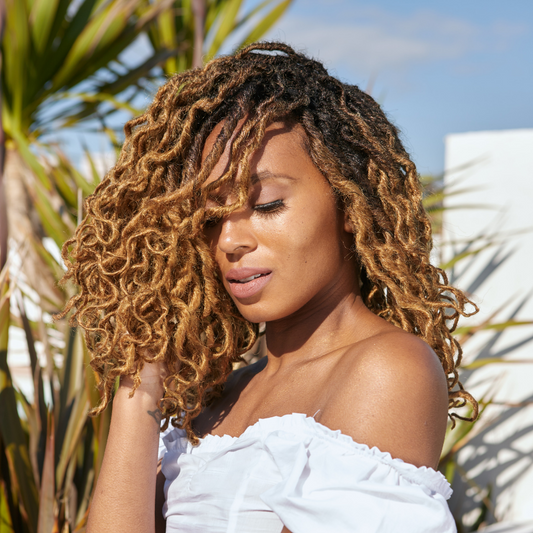
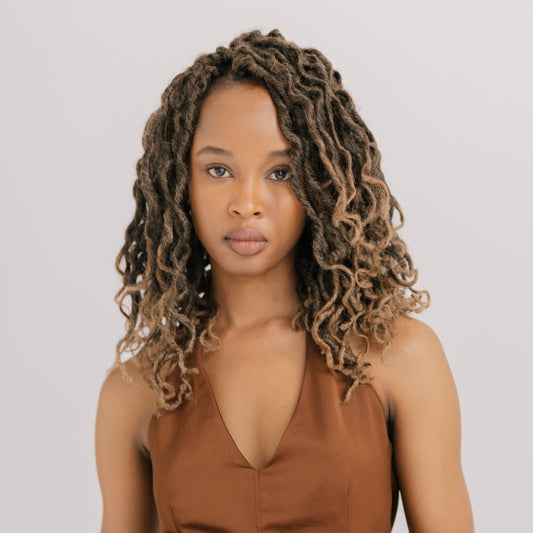
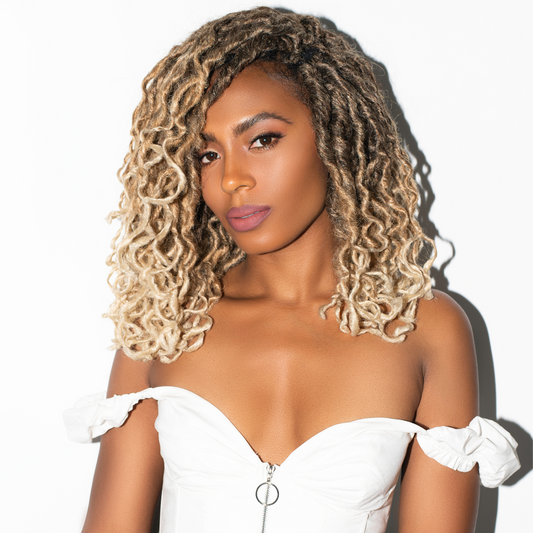
We always recommend cornrows for the base of our crochet faux locs as they’re a great starting point and easy to attach to.

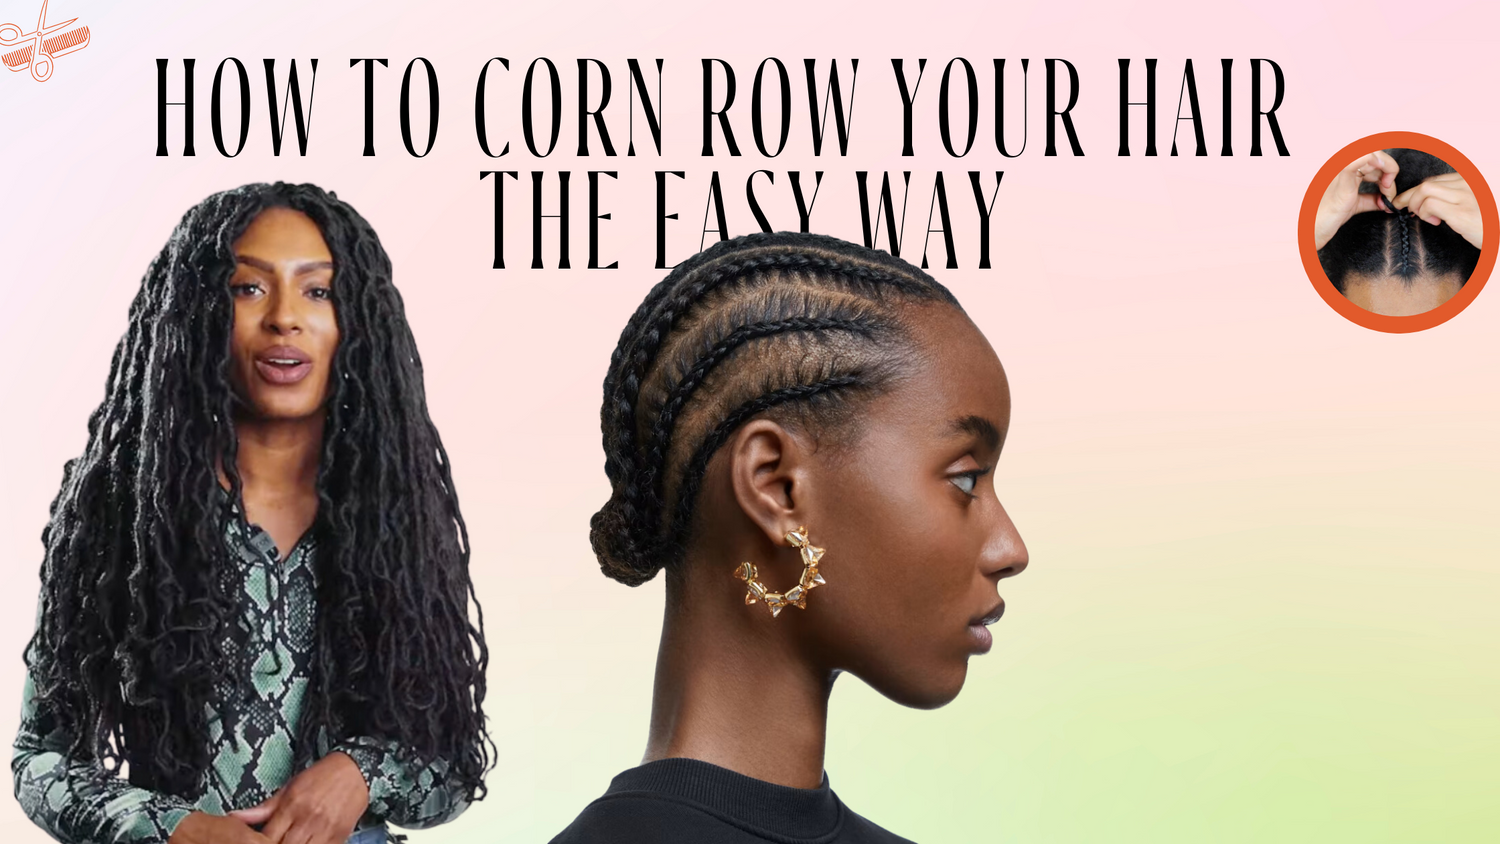
A Quick Rundown on Cornrows
Easily one of the most iconic, eye-catching ways to style African hair, cornrows are also something that, with practice and patience, you can achieve at home.
They're very historically significant, too. Historians, Ayana D. Byrd and Lori L. Tharps have explained how cornrows, one of many traditional African hairstyles, were used as part of a wider cultural practice to signify '...a person's marital status, age, religion, ethnic identity, wealth, and rank within the community.'
And, to this day, cornrows maintain their popularity due to their being both stylish and practical. Like hair extensions and faux locs, cornrows are a great protective style to wear your hair in. Cornrow braids protect your hair from both heat damage and excess dryness, helping it last longer and stay healthier.

A Step-By-Step Guide to Cornrowing your Natural Hair
Step 1: Prep your Hair for Braiding
Before you start braiding your hair, you're going to want to wash, condition, and detangle it. Detangled hair is far easier to braid and will retain its style longer, so don't skip this step! Ideally, you'll want to use products that are deeply hydrating to help manage frizz wherever possible. This will keep your cornrows looking as neat as possible for as long as possible.
After washing your hair, you may like to use holding products to further minimize frizz and help with moisture retention. Hair butter, oils, and serums can all work well for this.
You can cornrow both dry and damp hair. If you've been blessed with plenty of curls in your hair, then you might want to blow dry it before starting the braiding process. Blow-drying curly hair can help to straighten its kinks out, and straight hair is much easier to braid neatly.
Those of us who do everything we can to keep our hair moisturized might want to air dry our hair instead of blowdrying it; this is also an option here, but be aware that it can make the braiding process a lot trickier if your hair ends up frizzy as a result.
Step 2: Part your Hair into Rows
The next step is to part your hair into rows before you can start to braid it. Starting at your hairline and ending all the way at the nape of your neck, use a comb to part your hair into sections.
Once you've done this, you might want to use hairpins or clips to keep each of these sections in place. Make sure not to leave any strands loose, as this can make cornrowing your hair a lot trickier.
Step 3: Separate your Hair into Sections
Before you start cornrowing your hair, here's a quick tip: you may want to use some edge control at your hairline. This is a great way to add moisture to your braids and make them easier to work with.
Now, you'll want to choose the first row of hair you're going to cornrow and separate it into three sections. Use your fingers to divide it into a left strand, middle strand, and right strand. This is more manageable if you have long hair, but the principle is the same with shorter hair, too.
Make sure to use two hands for this, so that your left hand is holding one of the strands of hair, and your right hand is holding the other two (or the reverse, if you're left-handed).
Step 4: Braid your First Cornrow
Now is the fun part - you get to actually cornrow your hair! It's easier than it looks, too; all you need to do is french braid each of the rows of hair that you've already made.
Take the left or right section of your row and pull it so that it's sitting over the middle section. Then, you'll want to repeat the same movement with the opposite strand and pull it over the middle one.
Step 5: Finish The First Row and Make the Rest of your Cornrow Braids
From here, you'll basically want to repeat the same pattern all the way across your head. Continue braiding the row that you started with and gradually add hair from the row underneath as you work towards the nape of your neck.
Adding hair as you work across the scalp is what actually makes this braid into a cornrow. If you don't add any additional hair, then you'll end up with more of a traditional braid or plait, instead.
Once you've finished your first row, you can simply repeat the process for all the other rows you've made. Again, make sure to add more hair from each row as you braid it.
If you don't have much experience with braiding or feel like you're struggling to really nail your cornrows, then you may want to watch some YouTube tutorials so that you have a visual, video guide. Our founder, Lulu, shows you how to cornrow in this great resource for beginners.
It's important to be mindful not to cornrow your hair too tightly. Overly tight braids can damage your hair and even cause bald spots (traction alopecia) in some cases.
Step 6: Finish and Secure your Cornrows
Once you've finished braiding your hair, you can secure the ends of your cornrows. You might like to tie them off with hairbands or barrettes to help them stay tidy and keep them together as long as possible.
Finally, don't be disheartened if your cornrows don't turn out how you were envisioning them at first. Learning to cornrow hair properly can be challenging at first; it takes time and plenty of practice. Latarra Clarke, the London-based braidist behind some of the incredible cornrowed looks at Gucci's spring/summer show in 2020, explains that it took her 'endless hours of practice' to be able to get her clients' cornrows looking consistent and sleek.