Today, we’re getting into a method that takes your individual crochet installs to the next level: wrapping your locs. Wrapping gives your install a sleeker, more natural, and flatter finish—plus that styling versatility we love.

What Are Individual Crochet Locs?
Instead of installing your locs on cornrows, individual crochet means each loc is looped onto its own braid. This method lays flatter, looks more natural around the hairline and gives you way more freedom to part and style however you want.
Now let’s get into the install and wrapping methods...
Part 1: How to Install Individual Crochet Locs
Step 1: Prep Your Natural Hair
Start with clean, stretched hair. Part your hair into small to medium sections depending on how full you want the final style to be.
Step 2: Create Individual Braids
In each section, braid your natural hair straight down. These braids will serve as the base for each loc. You’ll typically need around 50–60 braids—Lulu used about 54 for her install.
Step 3: Attach Each Loc
Use a crochet needle to loop a loc through the middle of your braid. Insert the hook at the center of the braid, pull the loc through, and secure it. The loc will hang evenly with your braid inside it.
Step 4: Repeat Across Your Head
Continue attaching one loc to each braid. Unlike cornrow installs (which may require 100+ locs), the individual method uses fewer locs while offering a lighter, more natural result.
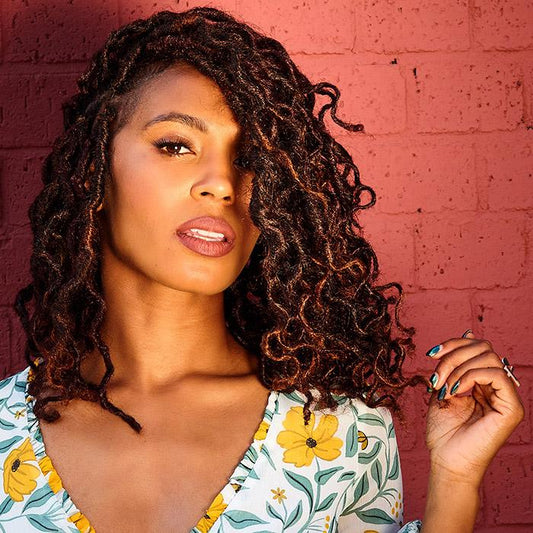
Step 5: Add Optional Mermaid Strands
If you want a customized boho blend, add Mermaid loose strands by looping them into select locs for added texture and color. This adds about 30 extra minutes to the install.
Total Time: About 2 hours (2.5 if you add Mermaid hair)
Best Boho Locs Styles for This Method:
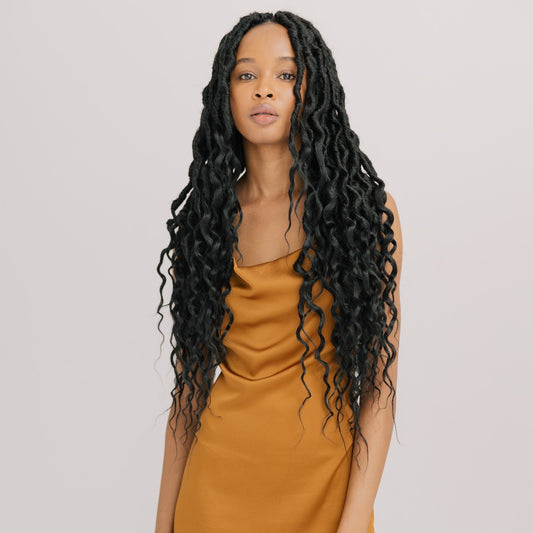
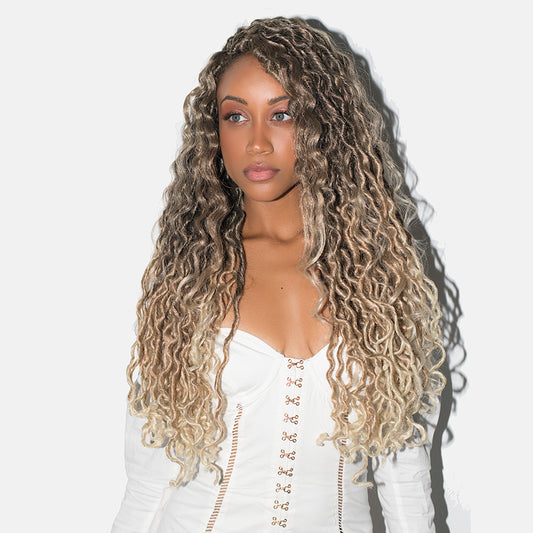
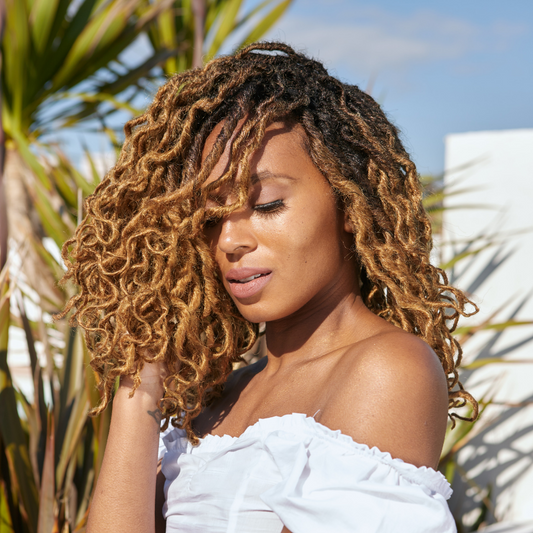
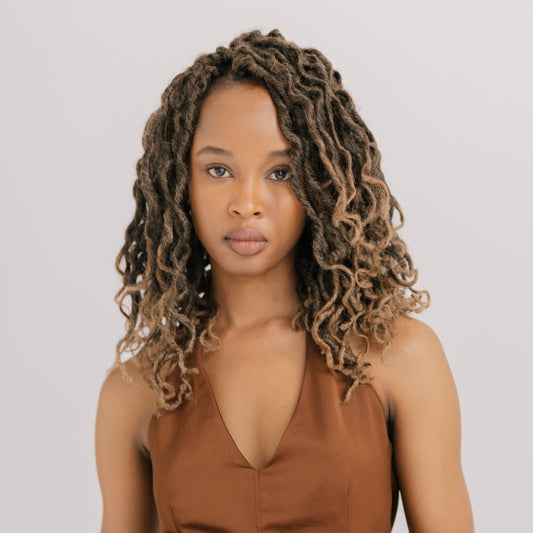
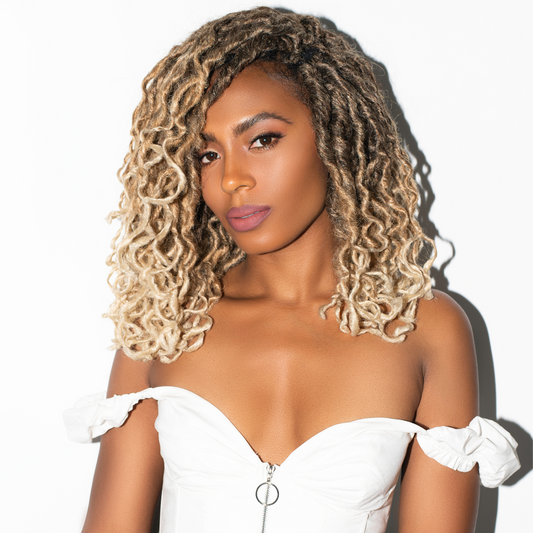
Boho Goddess Locs
Boho Mermaid Locs
Boho Beach Locs
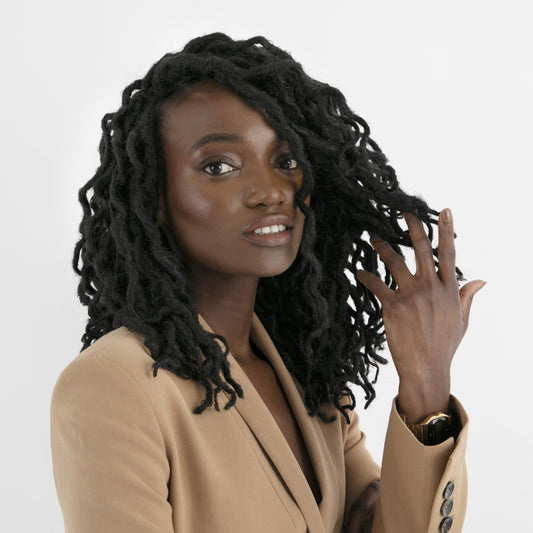
Boho Queen Locs
Boho Silk Locs
Boho Supreme Locs
Why Wrap?
Super flat and natural-looking base
Less tension on your roots
Blends beautifully with your locs
Perfect for sleek ponytails, buns, or free-flowing styles

Keep an Eye Out...
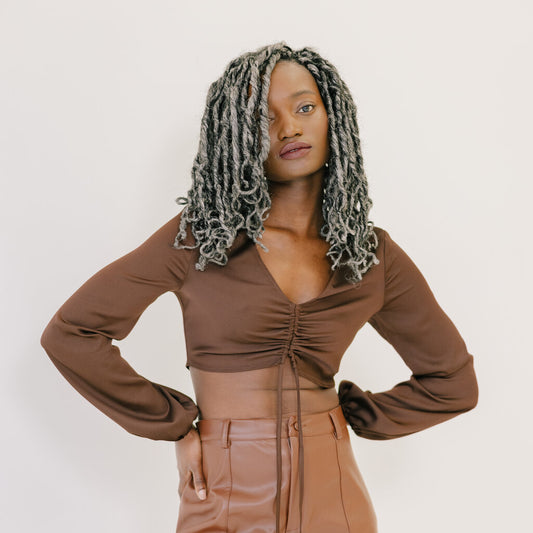
Our Midnight Mermaid Locs in 14” and 22” are coming back real soon—and this method? It’s MADE for them.
Sign up here to join the restock waitlist so you don’t miss it!
Whether you’re installing on yourself or heading to the Boho Hair Studio (appointments open for June), this wrapping technique will level up your whole look.
Let us know in the comments if you try it, or tag us in your pics on IG—we love seeing you SLAY!